Yield.xyz SSO Setup Guide
Configure SAML or OIDC single sign-on for Yield.xyz dashboard
Enable Single Sign-On (SSO) to let your team sign in to the Yield.xyz dashboard through your identity provider.
Why set up SSO?
- One less credential to manage: Team members sign in with the same account they use for
everything else.- Instant offboarding: When someone leaves your organization, removing them from your
identity provider immediately revokes their Yield.xyz access.- Centralized access control: Manage who can access Yield.xyz from your identity provider.
Yield.xyz supports two protocols: OIDC (OpenID Connect) and SAML 2.0. Below are the two step-by-step guides for each option:
- Option A: OIDC — simpler setup, works with Google Workspace, Okta, Azure AD, and others.
- Option B: SAML 2.0 — for organizations that require SAML.
Prerequisites
Before starting, make sure you have:
- Admin access to your identity provider — Google Workspace Admin, Okta Admin, Azure AD Global Admin, etc.
- Yield.xyz Dashboard Admin role — you need
adminorsuperAdminpermissions on your Yield.xyz team. - Google Workspace (if using Google as your IdP)
Option A: OIDC
OIDC is the recommended protocol. It's simpler to configure and works with any provider that supports OpenID Connect — Google Workspace, Okta, Azure AD (Entra ID), OneLogin, Auth0, and others.
This guide uses Google Workspace as the example. The steps are equivalent for other providers.
Step 1 — Copy the Redirect URI from Yield.xyz
-
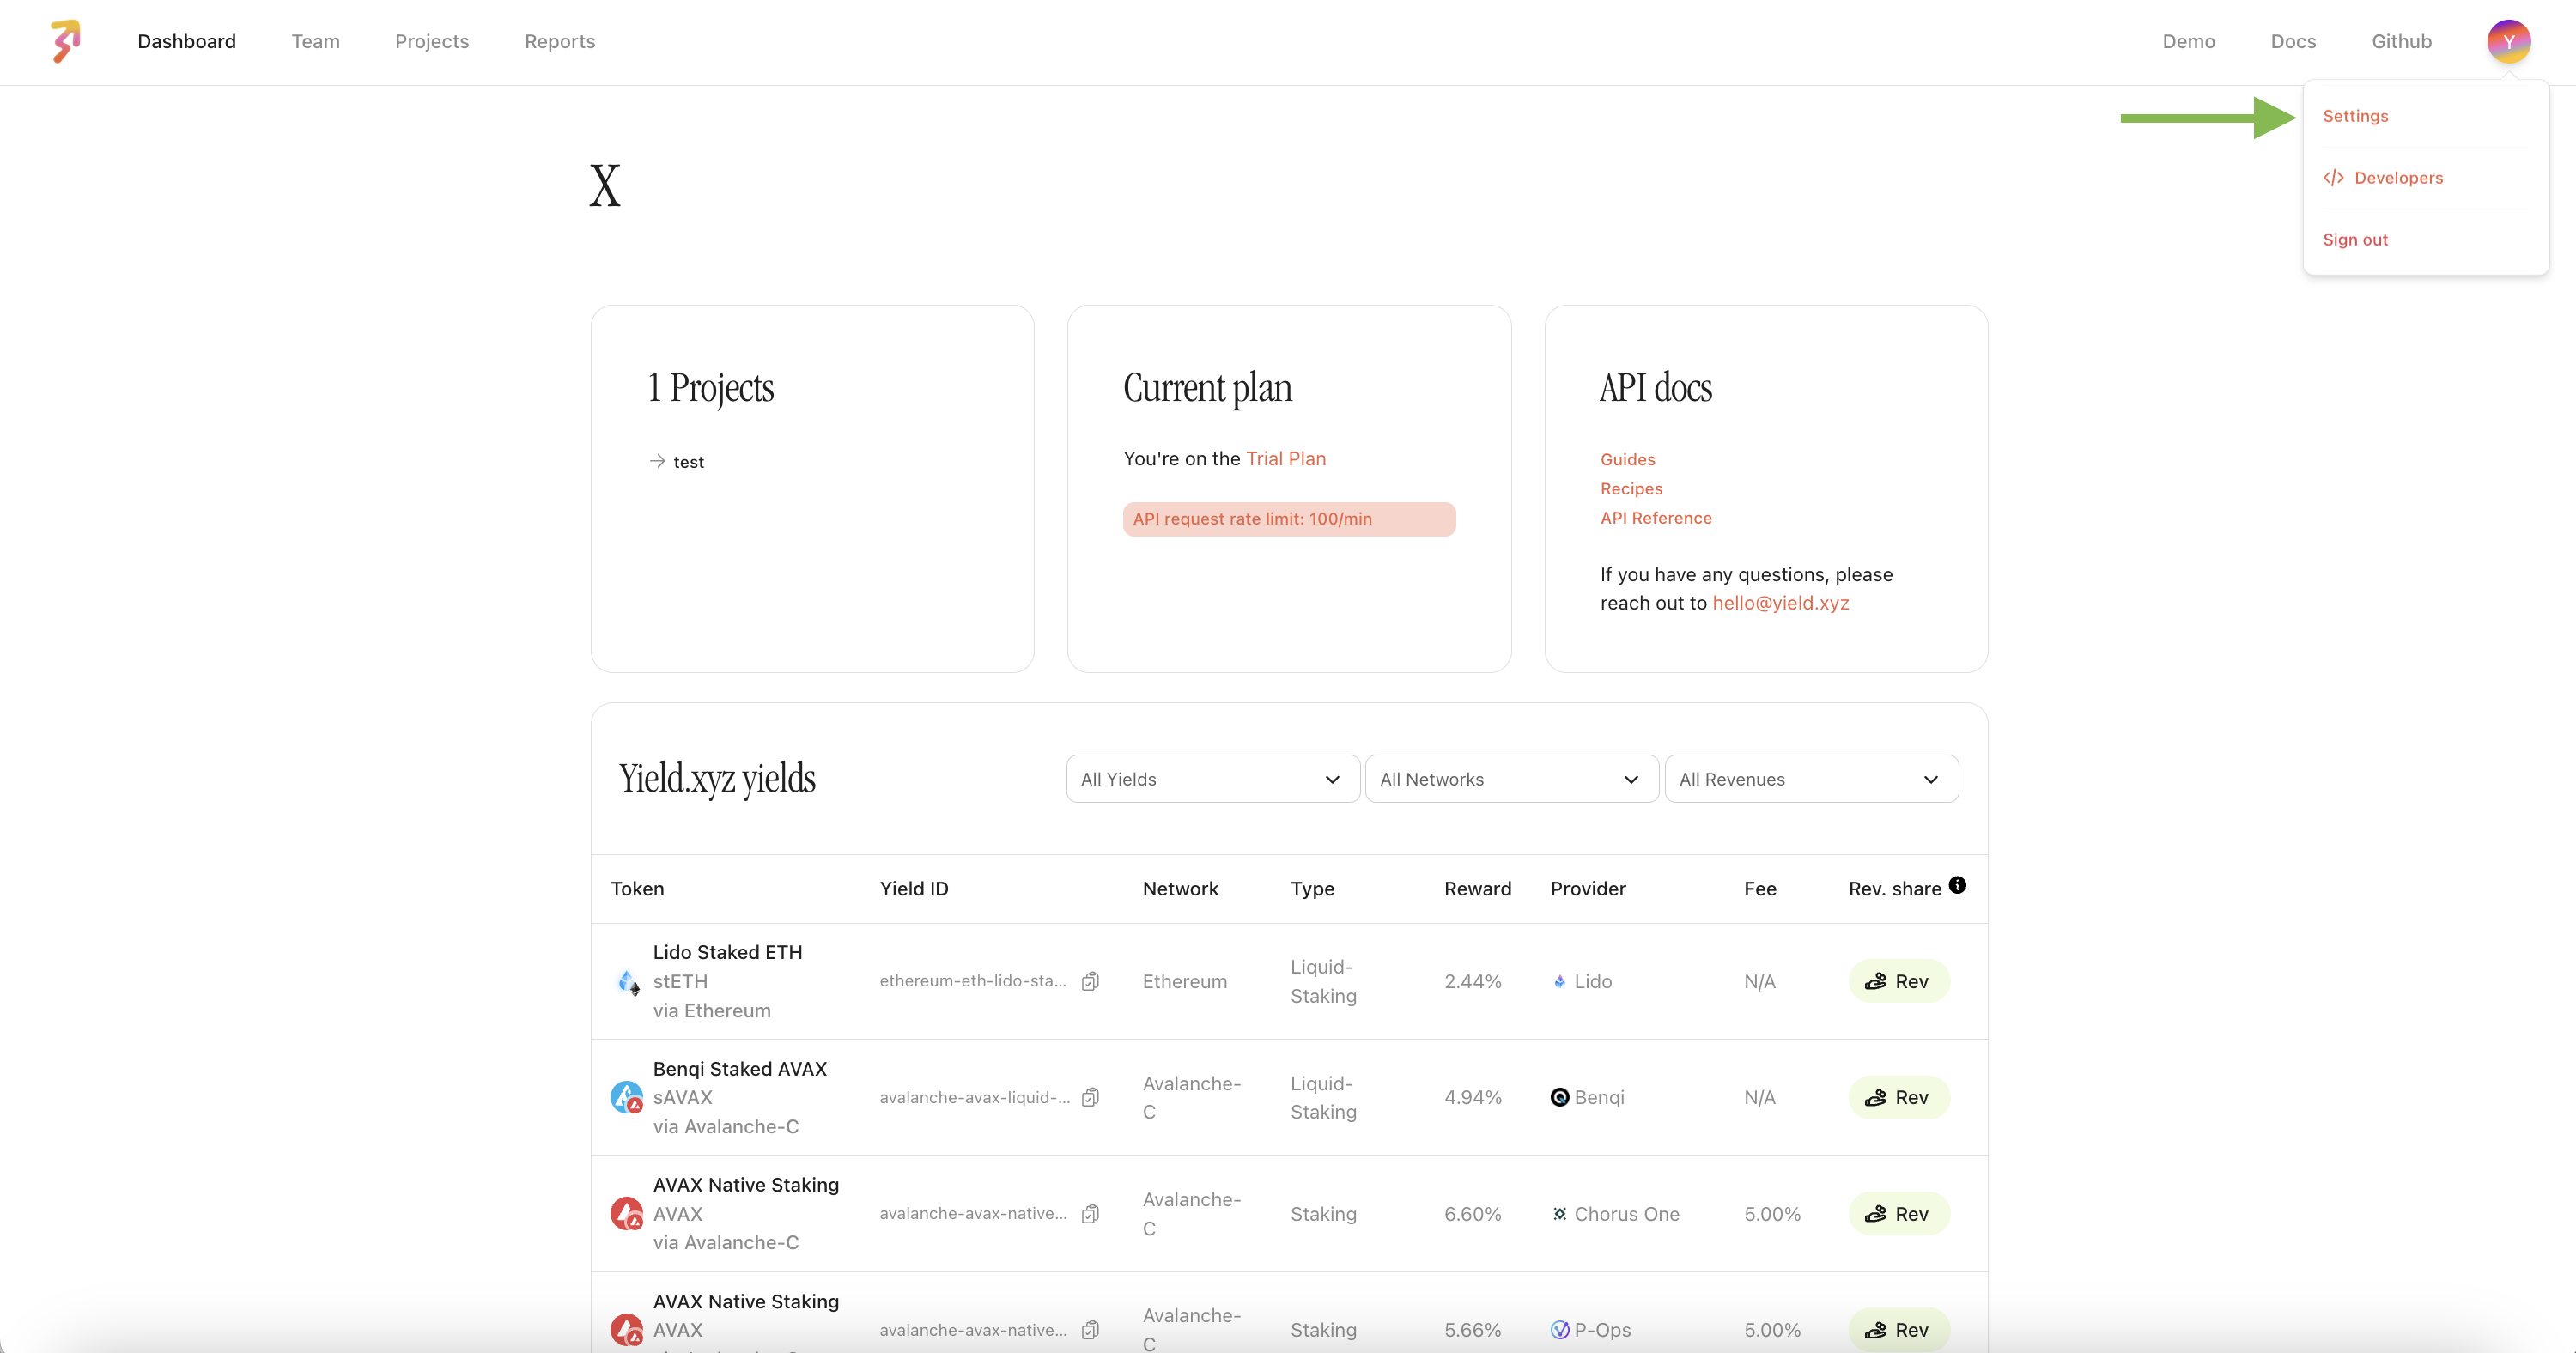
Log in to the Yield.xyz dashboard as an admin.
-
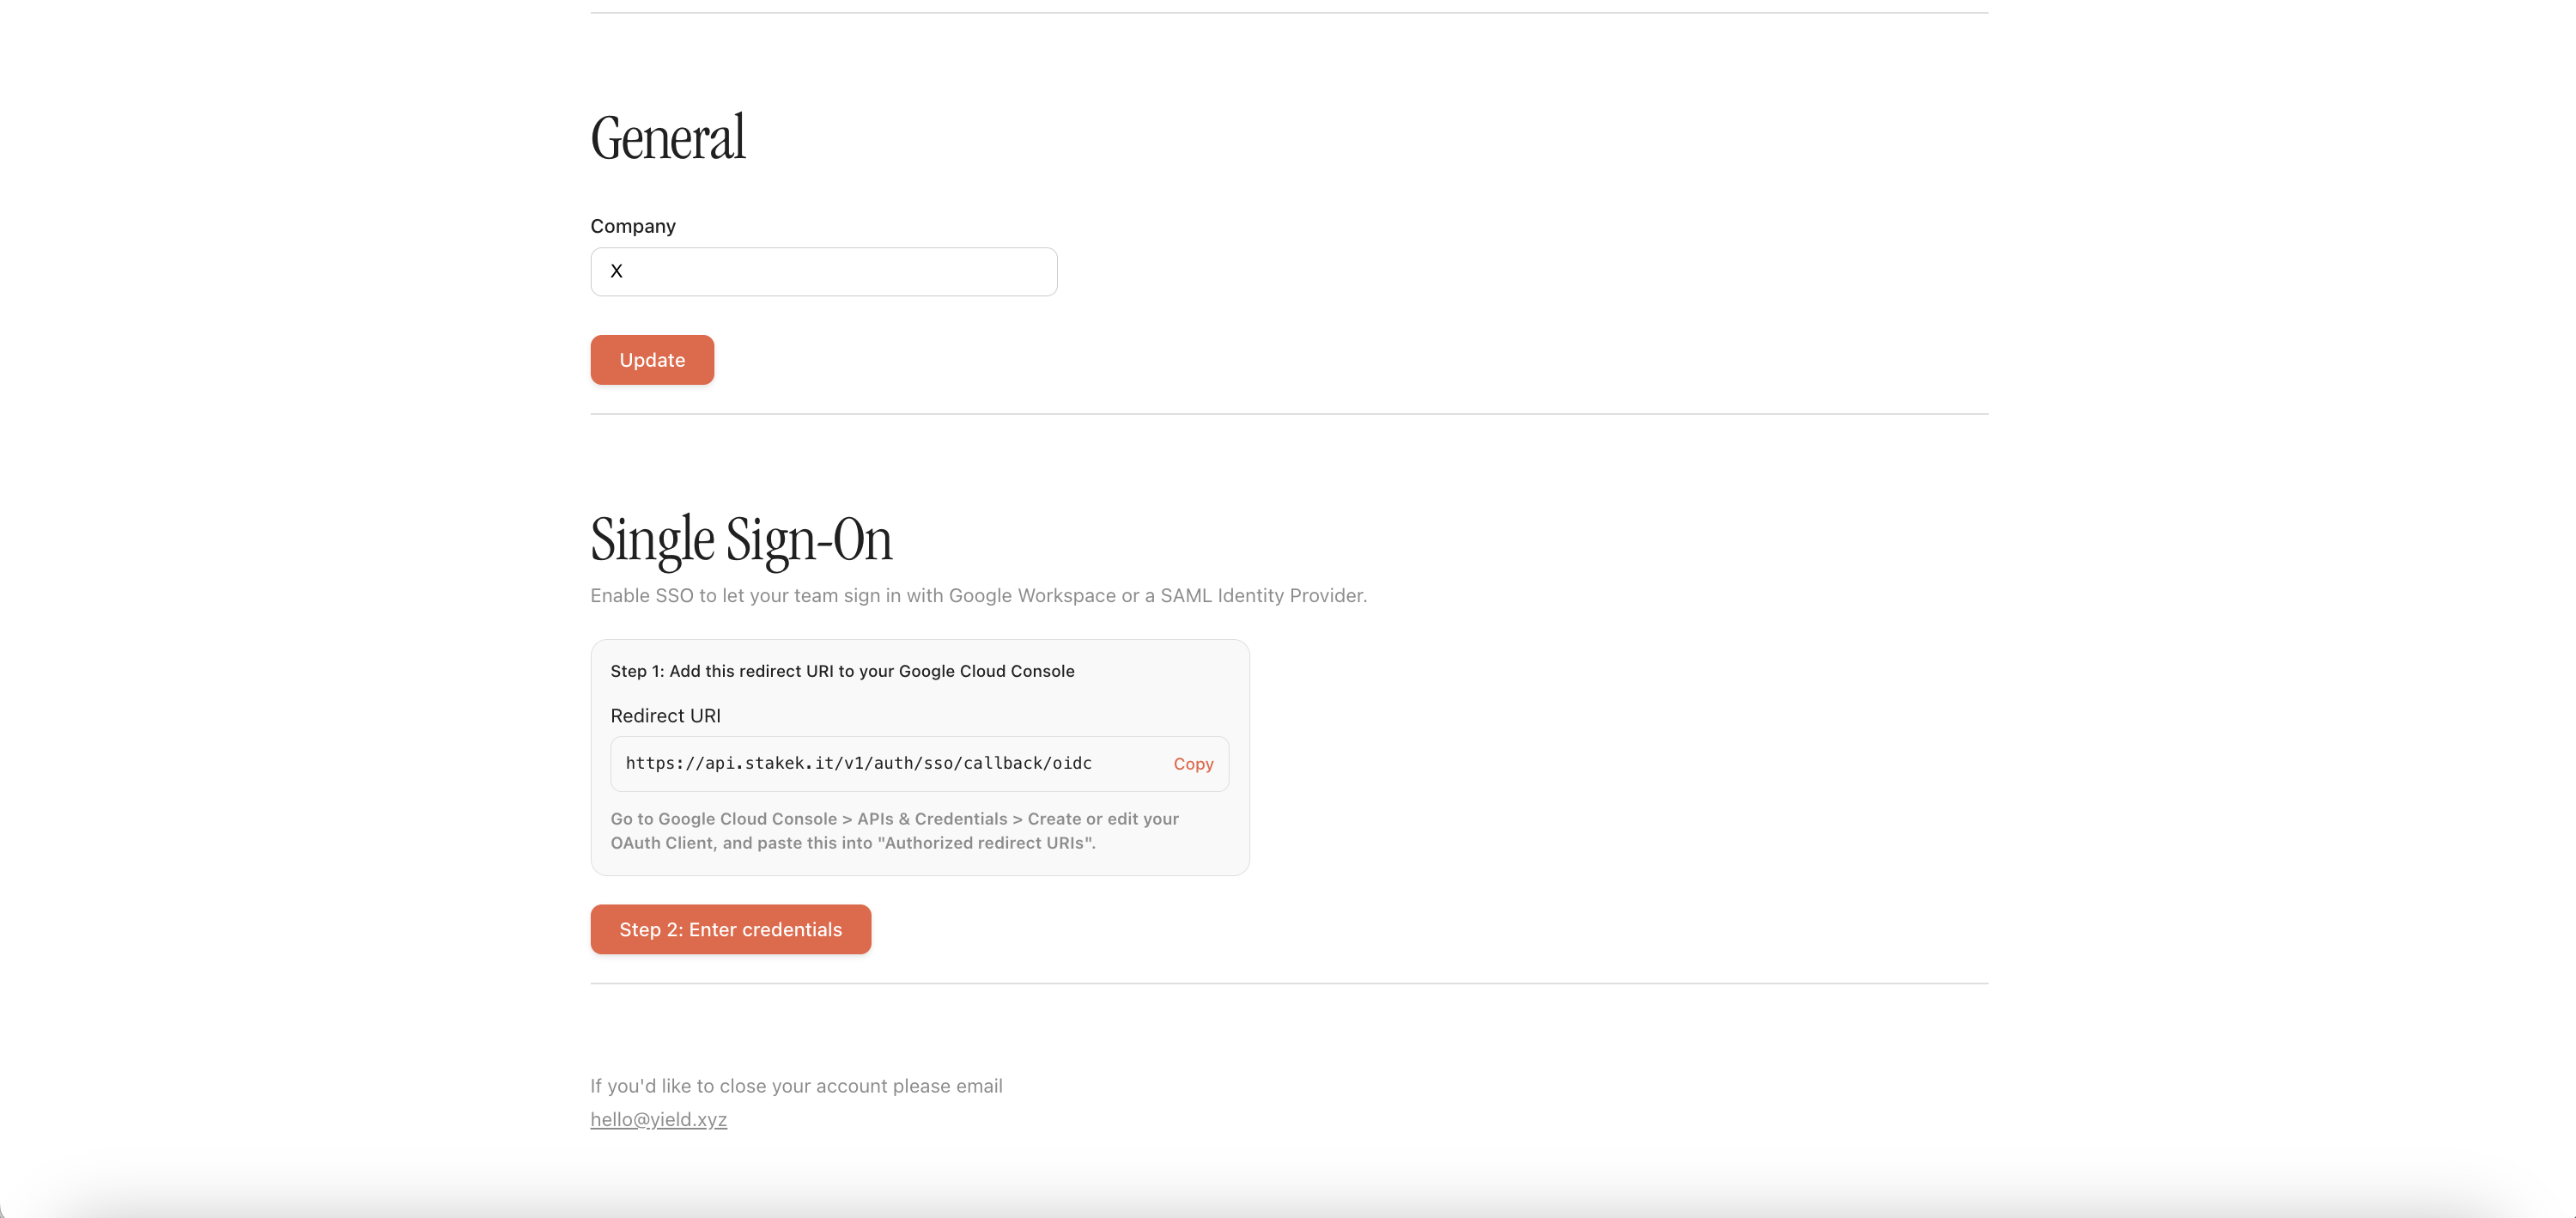
Go to Settings
-
In the Single Sign-On section, click on Step 2 and make sure to select OIDC.
-
Copy the Redirect URI shown at the top of the form.
The Redirect URI will look like:
https://api.stakek.it/v1/auth/sso/callback/oidc
Step 2 — Create an OAuth Client in Google Cloud
- Go to Google Cloud Console → APIs & Credentials.
- Select your organization's project (or create a new one).
- If you haven't set up the OAuth consent screen yet:
- Click OAuth consent screen in the sidebar.
- Choose Internal to restrict access to your organization's users only.
- Fill in the app name and support email, then save.
- Click + CREATE CREDENTIALS → OAuth client ID.
- Application type: Web application.
- Name: e.g. "Yield.xyz Dashboard SSO".
- Under Authorized redirect URIs, click + ADD URI and paste the Redirect URI from Step 1.
- Click CREATE.
- A dialog will show your Client ID and Client Secret. Copy both.
Keep the Client Secret safe. Google only shows it once in this dialog. Yield.xyz encrypts it at rest, but treat it like a password. If compromised, rotate it in Google Cloud Console and update it in Yield.xyz.
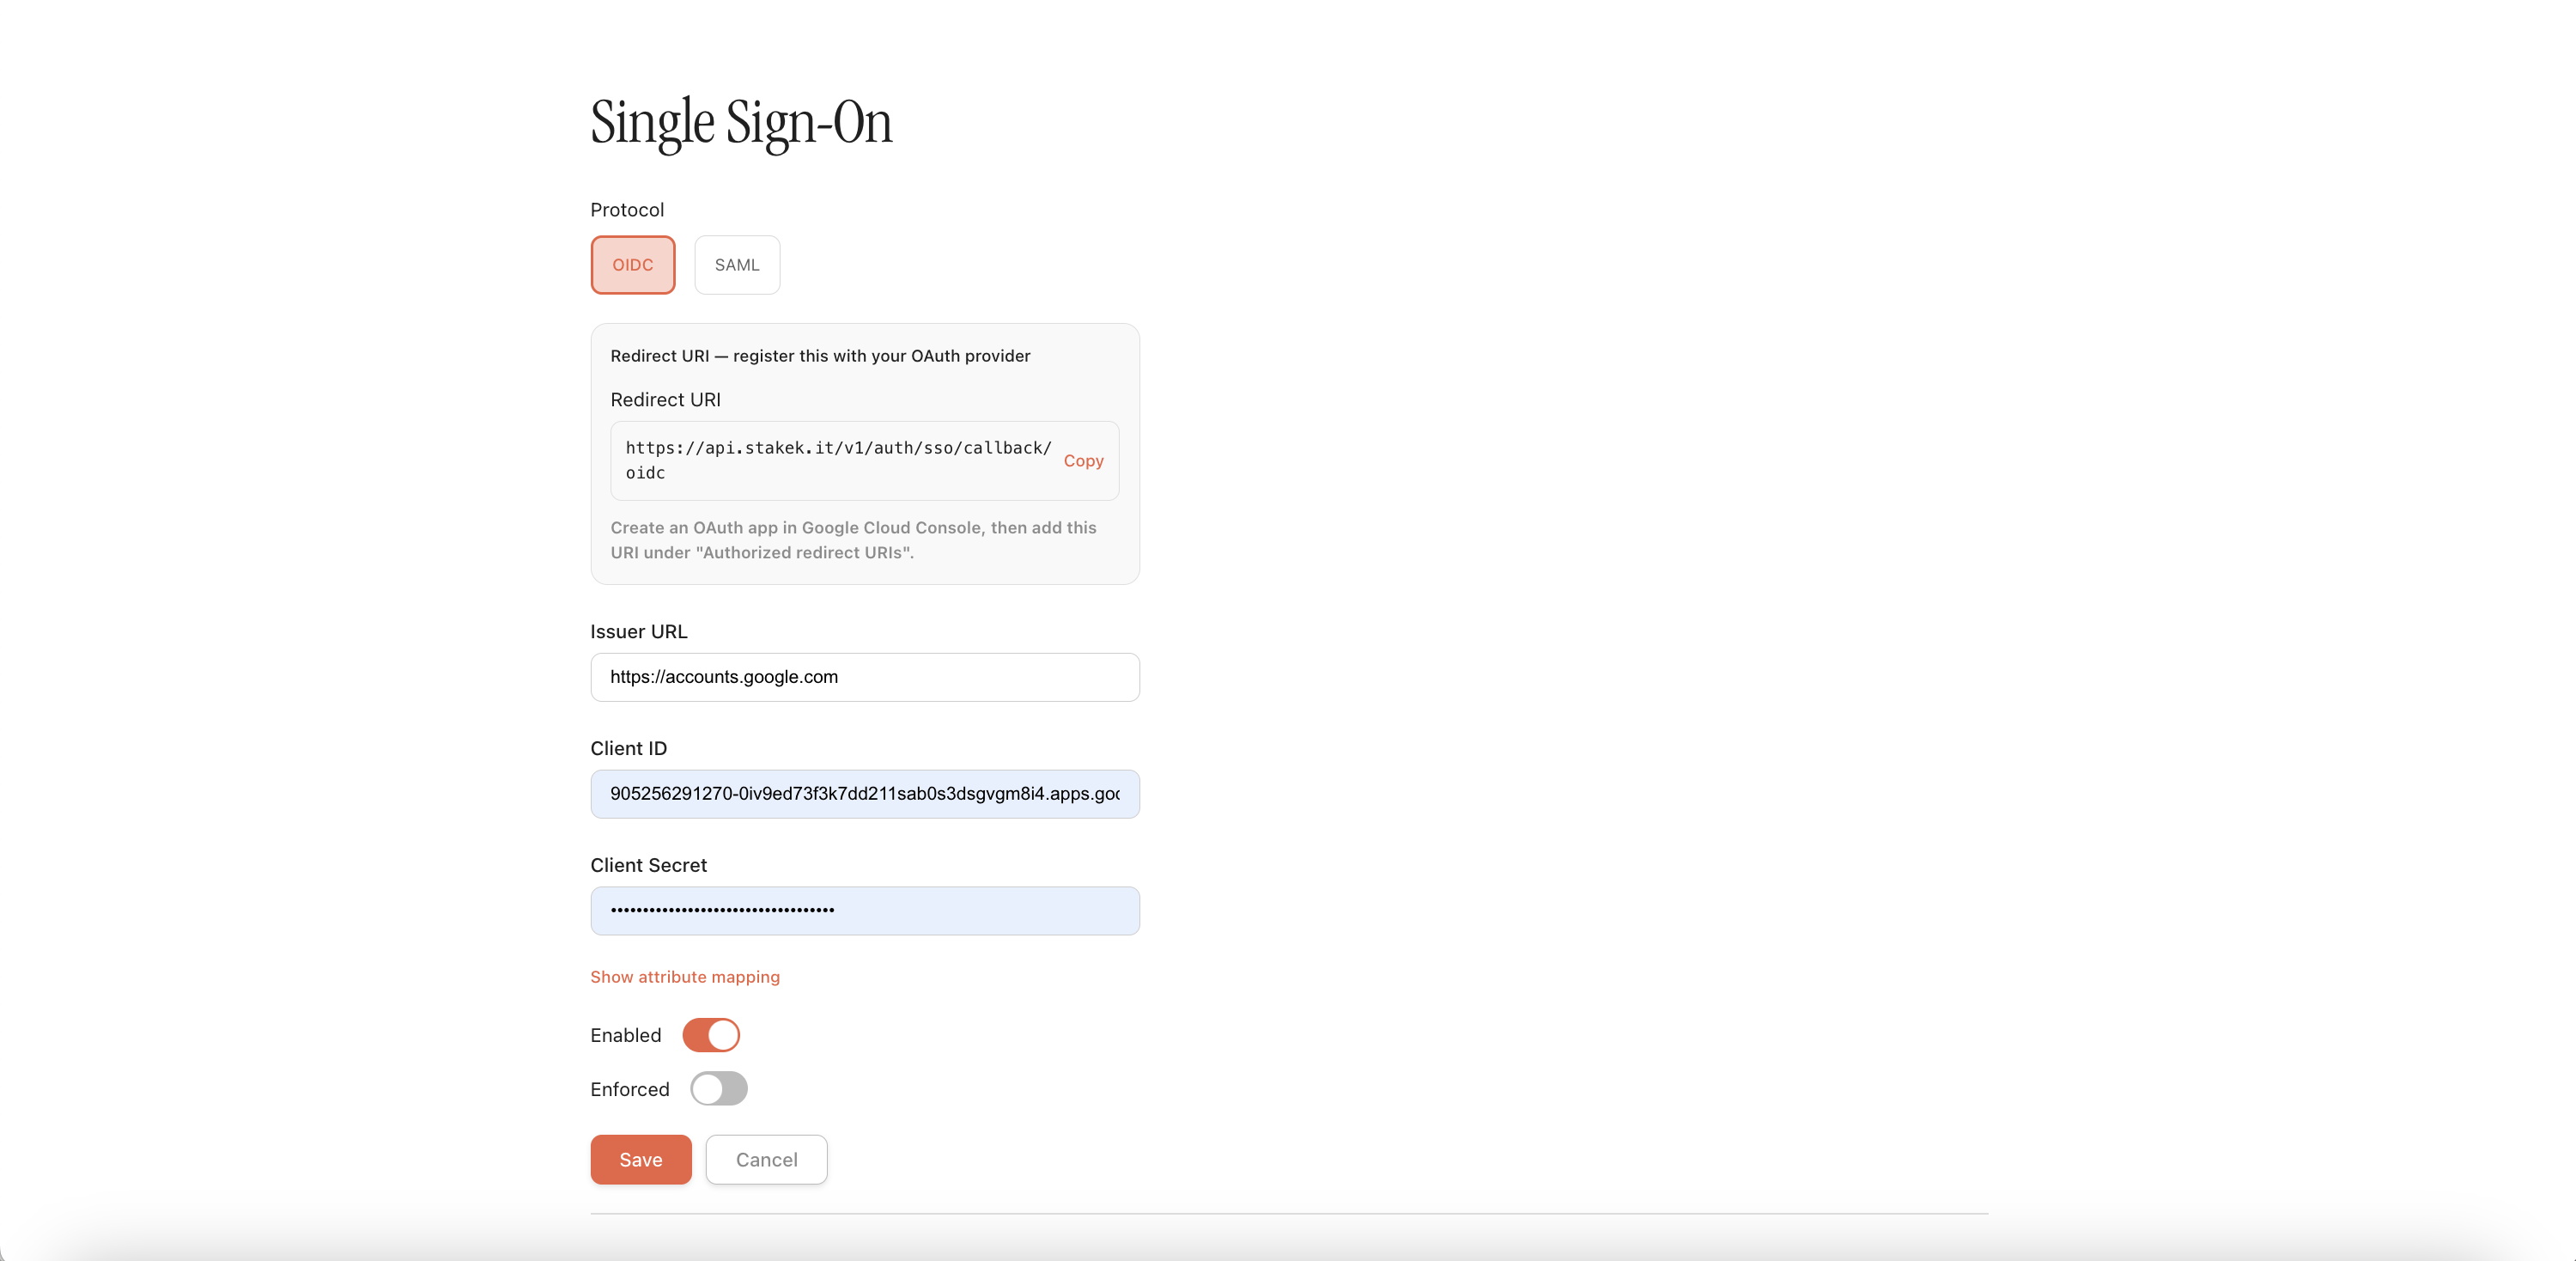
Step 3 — Enter credentials in Yield.xyz
Back in the Yield.xyz SSO settings page, fill in:
| Field | Value | Requirement |
|---|---|---|
| Issuer URL | https://accounts.google.com | Required |
| Client ID | Paste from Google Cloud Console | Required |
| Client Secret | Paste from Google Cloud Console | Required |
| Enabled | Toggle on | Required |
| Enforced | Leave off initially (see Step 5) | Optional |
Click Save.
Attribute mapping (optional): Click "Show attribute mapping" to customize how user attributes are mapped. The defaults work out of the box for Google Workspace. Only change them if your provider uses non-standard claim names for email, first name, or last name.
Step 4 — Test the login
- Log out of the Yield.xyz dashboard.
- On the login page, click Sign in with SSO.
- Enter your email address.
- You'll be redirected to Google's login screen.
- Authenticate with your Google Workspace account.
- You'll be redirected back to Yield.xyz, logged in.
Step 5 — Enforce SSO (optional)
Once SSO is working for your team, you can enforce it to make it the only login method:
- Email code login is disabled for all team members.
- Everyone must authenticate through your identity provider.
- Removing a user from your identity provider immediately revokes their Yield.xyz access — no separate offboarding step.
To enable: toggle Enforced on in the SSO settings and click Save.
Before enforcing: Confirm all team members can sign in via SSO first. Once enforced, the email code login stops working for everyone on your team. If you need temporary access for external collaborators, either keep enforcement off or add them as external users in your identity provider.
Option B: SAML 2.0
SAML SSO works with any SAML 2.0-compliant identity provider — Google Workspace, Azure AD (Entra ID), Okta, OneLogin, and others.
The Yield.xyz dashboard walks you through the 3-steps.
How SAML SSO works
SAML involves two parties exchanging information about your users:
- Identity Provider (IdP) — your system (Google, Azure AD, Okta, etc.) that authenticates users.
- Service Provider (SP) — Yield.xyz, which receives the authentication result.
You'll configure each side with the other's metadata.
Step 1 — Register Yield.xyz in your Identity Provider
-
Log in to the Yield.xyz dashboard as an admin.
-
Go to Settings → Single Sign-On.
-
Select SAML as the protocol.
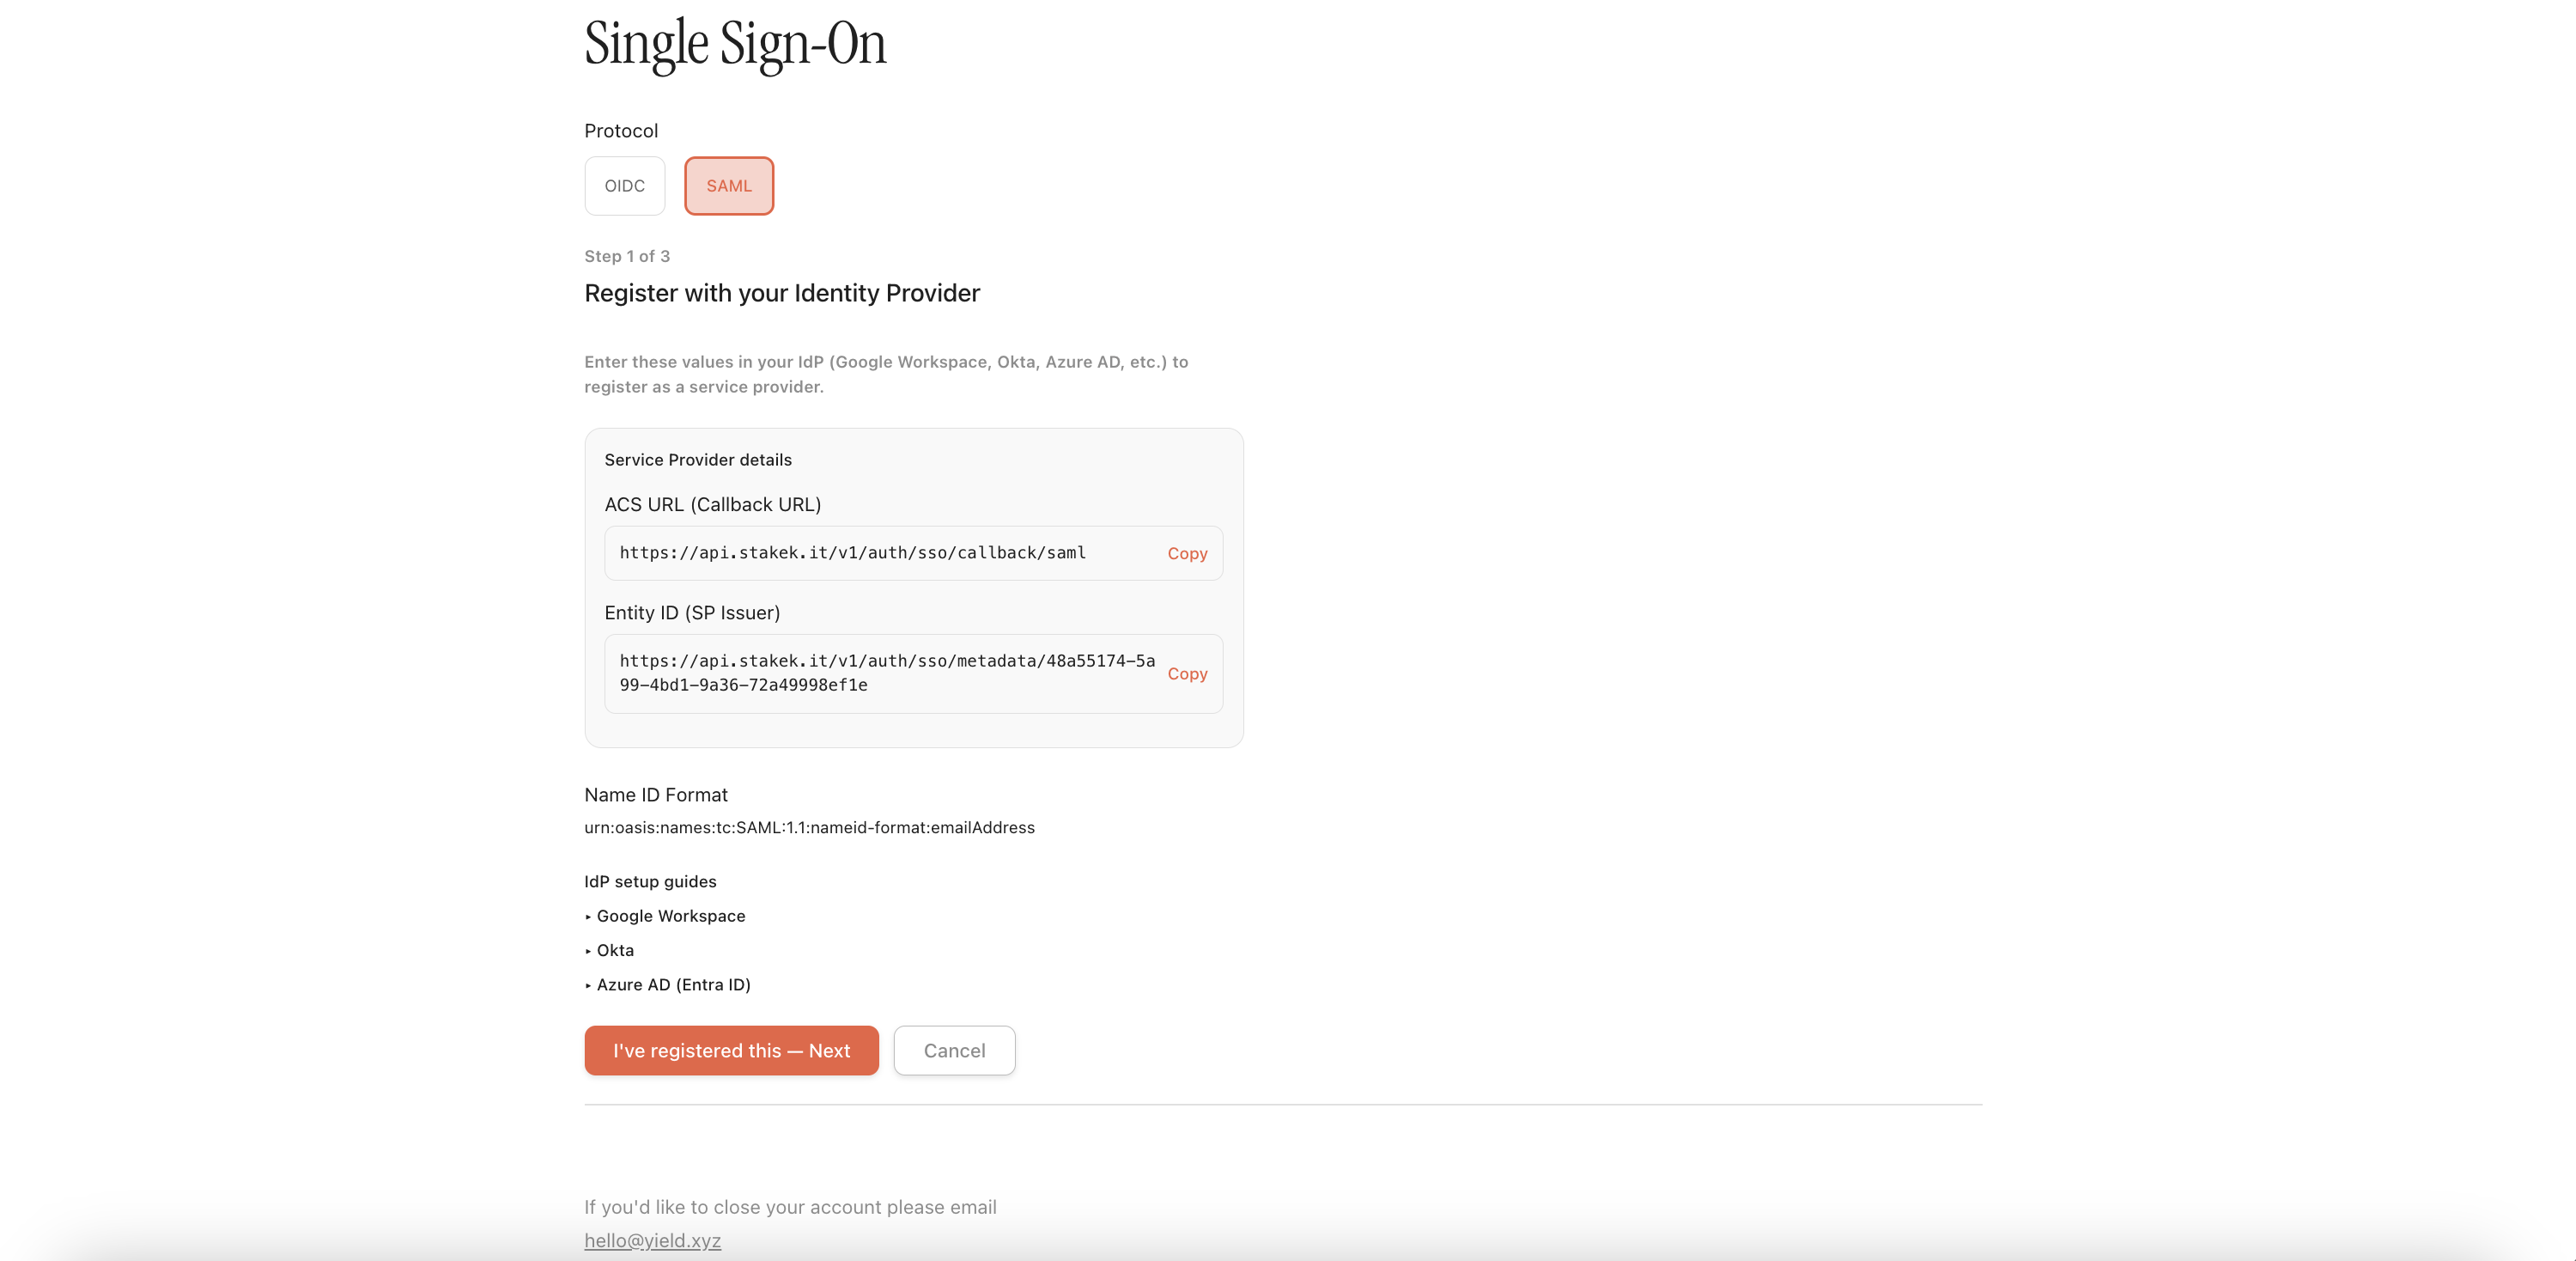
-
The wizard shows Step 1 of 3: Register with your Identity Provider.
-
Copy the two values under Service Provider details:
| Yield.xyz field | What to enter in your IdP |
|---|---|
| ACS URL (Callback URL) | Paste into your IdP's Single sign-on URL, Reply URL, or ACS URL field |
| Entity ID (SP Issuer) | Paste into your IdP's Audience URI, Identifier, or Entity ID field |
The dashboard also includes collapsible setup guides for Google Workspace, Okta, and Azure AD (Entra ID) directly on this page. Expand the relevant one for step-by-step instructions specific to your provider.
Once you've registered Yield.xyz in your identity provider, click "I've registered this — Next".
Step 2 — Enter your IdP details in Yield.xyz
The wizard moves to Step 2 of 3: Enter your IdP details. Copy these values from your identity provider's SAML configuration page:
| Field | Where to find it | Requirement |
|---|---|---|
| Issuer URL (IdP Entity ID) | Your IdP's Entity ID or Issuer URL | Required |
| Entry Point (IdP SSO URL) | Your IdP's SSO URL, Login URL, or SAML Endpoint | Required |
| IdP Certificate | Your IdP's X.509 signing certificate in PEM format | Required |
Click Next to proceed.
Step 3 — Enable and save
In the final step, toggle Enabled on and click Save.
Leave Enforced off for now — you can turn it on after you've confirmed SSO works.
Step 4 — Test the login
- Log out of the Yield.xyz dashboard.
- On the login page, click Sign in with SSO.
- Enter your email address.
- You'll be redirected to your identity provider's login page.
- Authenticate with your credentials.
- Your IdP sends a SAML assertion back to Yield.xyz, and you'll be logged in.
Users must be invited first. Before a team member can sign in via SSO, an admin must invite them from the Yield.xyz dashboard team management page. Uninvited users will not be able to log in even if they exist in your identity provider.
Step 5 — Enforce SSO (optional)
Once SSO is working, you can enforce it to make it the only login method:
- Email code login is disabled for all team members.
- Everyone must authenticate through your identity provider.
- Deactivating a user in your IdP immediately revokes their Yield.xyz access — no separate offboarding step.
To enable: go to Settings → Single Sign-On, toggle Enforced on, and save.
Before enforcing: Confirm all team members can sign in via SSO first. Once enforced, email code login stops working for everyone on your team. If you need temporary access for external collaborators, either keep enforcement off or add them as external users in your identity provider.
Important notes
Email is the unique identifier
- The email from your identity provider must match the email on the Yield.xyz account exactly.
- For SAML: ensure your IdP sends the email address as the NameID — not an opaque user ID.
- Each email can only belong to one team. If a user already has a Yield.xyz account on another team, SSO login will fail. Please contact Yield.xyz team.
Controlling who has access
- The users must be invited by an admin from the Yield.xyz dashboard before they can sign in via SSO. Automatic account creation for SSO users is coming soon.
- For OIDC with Google: setting the consent screen to Internal restricts access to your organization by default.
- For SAML: assign users/groups to the SAML application in your IdP.
- External collaborators can be added as external or guest users in your IdP if needed.
- When a team member leaves, removing them from your IdP immediately blocks their Yield.xyz access (when SSO is enforced).